
I’ve been using Cura as my go-to 3D-printer slicer for quite some time now. Compared to Slic3r, it’s faster and produces more optimized G-Code (using the same settings in both slicers, Cura’s prints were faster for me- but as always, YMMV). However, Cura provides less tweakable options than Slic3r, so it takes some getting used to.
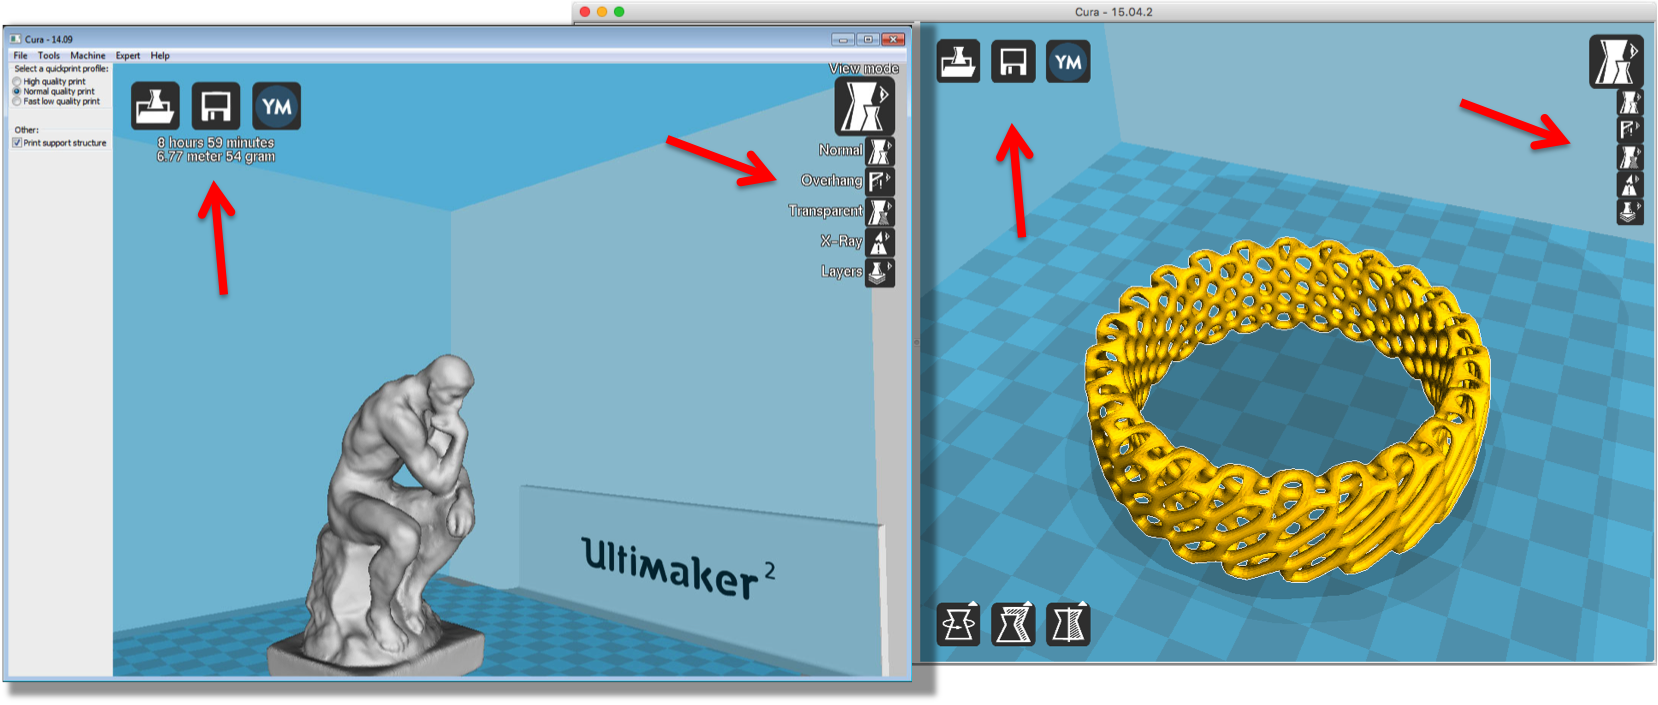
So, I was using Cura 10.04 under OSX (10.10 and 10.11), and all was nice and good. Suddenly, I wild bug appeared. As shown in the picture below, Cura uses some text overlays on the 3D-viewer to display information: print duration, filament usage, estimated cost, type of view, etc. On my machine, all text overlays were suddenly gone! Rebooting, reinstalling, re*ing, etc, didn’t seemed to solve the issue. And, needless to say, using a slicer without the aforementioned infos is quite frustrating.
Furthermore, this bug seemed to afflict only a handful of unlucky bastards: Google pointed me to one unanswered forum entry, and to one GitHub issue ticket. The latter got a response from one of Cura’s developers, which stated that they’re “not working on a fix, as we will be repacing the whole UI in a few months, which no longer uses this old font rendering code”.
All right then. The dev’s answer was posted mid-April 2015, so I figured a new version should already exist. Indeed, in the list of beta releases, Cura 10.06 was available for download. I grabbed it and got going.
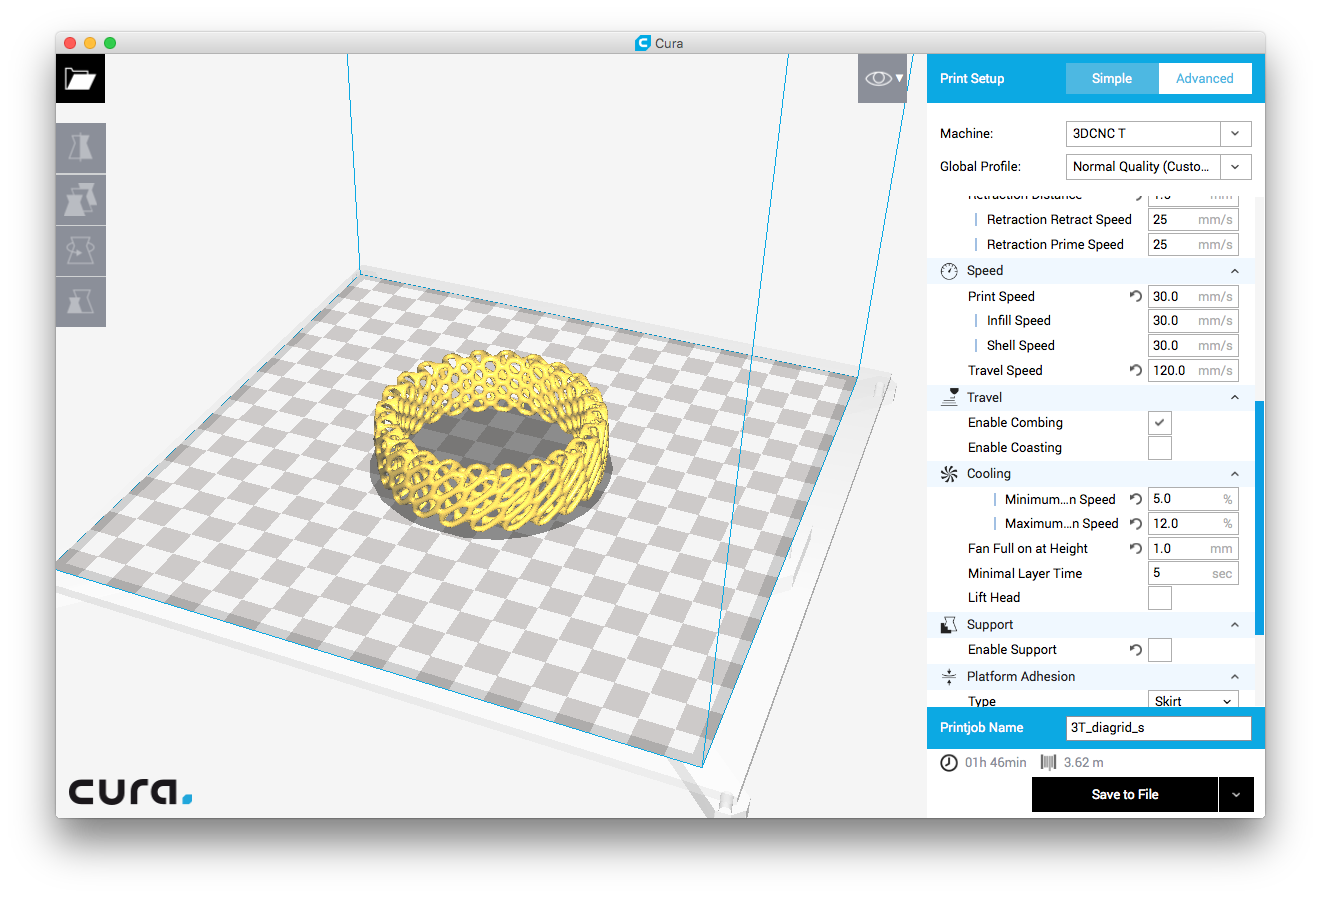
The UI got heavily revamped, and lots of options were made available (bringing a Slic3r-y level of tweakability to Cura). A quick tour in Cura’s Preferences > Settings allows you to select which options you want to edit in the main window. No need for much detail here, as the help pop-ups on each option make the whole experience nicely intuitive.
Unfortunately, as new options were added, others were lost. When first configuring Cura, you need to add a printer. In previous versions, you could choose from a list of models or just go with a “generic” machine – to which you’d add dimensions and other relevant informations. This option is no longer readily available – you have to pick a model from the list! Having a DIY printer that looks like nothing on the list, I was quite frustrated. For test purposes, I picked the Prusa-i3 preset (though my printer uses a bed roughly four times as big).
On top of that – and that was the killer for me – there is no option to edit the Start/End G-Code procedures. While this sounds trivial/useless for most off-the-shelf printers, it won’t (probably) work with a custom machine (e.g., like mine). For instance, due to the form and size of my printer’s bed, I can’t go homing XYZ like a Prusa-i3 would do (and as the preset G-Code insists on doing).
After shelving Cura 10.06 for some days, I stumbled on this page on the RepRap Wiki. It shed some precious light on the workarounds required to solve these (and other) problems. As it turns out, much of Cura’s printer configurations are set in JSON files – a file per printer model, stored in Cura’s installation folder, under resources > machines. To add my custom printer, I’ve copied the prusa_i3.json preset to a new custom_3dcnc.json in the same folder, and went on editing it. The JSON entries are pretty self-explanatory:
|
1 2 3 4 5 6 7 8 9 10 11 12 13 14 15 16 17 18 19 20 21 22 23 24 25 26 27 28 29 30 31 32 33 34 35 36 |
{ "id": "custom_3dcnc", "version": 1, "name": "3DCNC", "manufacturer": "Other", "author": "Martin Vincent Bloedorn", "icon": "icon_ultimaker2.png", "platform": "3dcnc_bed.stl", "inherits": "fdmprinter.json", "machine_settings": { "machine_width": { "default": 200 }, "machine_height": { "default": 200 }, "machine_depth": { "default": 200 }, "machine_center_is_zero": { "default": false }, "machine_nozzle_size": { "default": 0.4 }, "machine_head_shape_min_x": { "default": 20 }, "machine_head_shape_min_y": { "default": 53 }, "machine_head_shape_max_x": { "default": 36 }, "machine_head_shape_max_y": { "default": 53 }, "machine_nozzle_gantry_distance": { "default": 55 }, "machine_gcode_flavor": { "default": "RepRap (Marlin/Sprinter)" }, "machine_start_gcode": { "default": "G21\nG90\nM82\nM107\nG1 Z15.0 F10000\nG92 E0\nG1 F200 E3\nG92 E0\nG1 F10000" }, "machine_end_gcode": { "default": "M104 S0\nM140 S0\nG91\nG1 E-1 F300\nG1 Z+5 E-5 X-20 Y-20 F10000\nG90\nG1 F10000 X0 Y0\nM84" } }, "overrides": { "material_bed_temperature": { "visible": true } } } |
Changing the id and name fields makes your custom printer appear on Cura’s list. Also note: AFAIK, you need a STL model for your printer’s bed (commenting out the field platforms won’t work). By default, they’re stored under resources > meshes. I could reuse one, but I’ve simply exported my printbed’s STL from my CAD program.

Last, but not least, machine_start_gcode and machine_end_gcode are what I was looking for. Add the G-Code inside a single pair of quotes, with commands spaced with a newline character (\n) and you should be golden. Save the file, reload Cura, and you’re good.
’til next time.